Starting tomorrow at 6 am Chicago locks down. Again. But, this time it is different. Schools can stay open (although the city’s 400,000 public school kids have been 100% eLearning since March). People are allowed to leave home for work…but no one is supposed to leave home. Restaurants are closed indoors, but warm and cozy […]

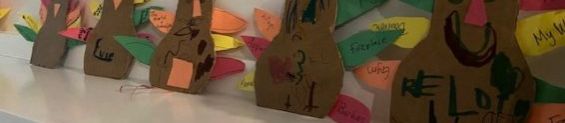
Monday, November 2. The day before the election. Like Americans on all points along the political spectrum, I cannot wait for tomorrow. I just want to know what is going to happen. I just want it over. Last week I took Ben and the twins to vote at the local elementary school. The election has […]

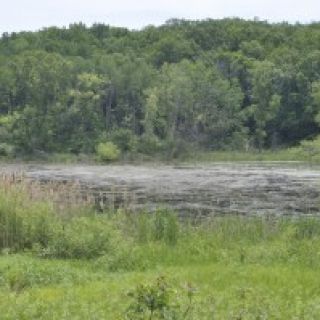
Chris took some of the kids camping in Wisconsin over Labor Day weekend. They canoed for 10 miles, camped on a sandbar, weathered a middle-of-the-night thunderstorm, then returned home exhausted but exhilarated. I would have loved to join them, but a trek like that with 4 year old twins just isn’t my idea of a […]

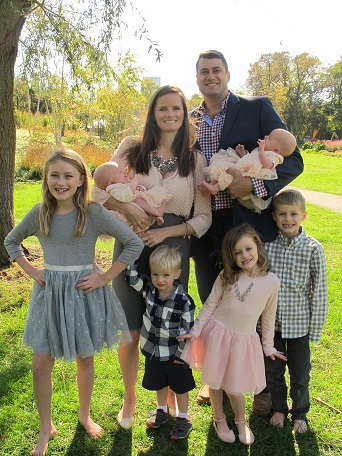
So, the summer came and went. Poof. Just like that. Despite the turmoil and uncertainty swirling around the globe, our little (ok, big) family made the most of my favorite season. Here in Chicago, much of what we love about the city is locked down (beaches, playgrounds, museums) or burning down (looting and rioting), so […]

My city burned last night. A peaceful protest highlighting the systemic injustices that led to the vicious murder of George Floyd descended into complete anarchy. As we sat watching the news late into the early morning hours, I was struck by fear. Fear of the unknown and fear of having no control. How can any […]
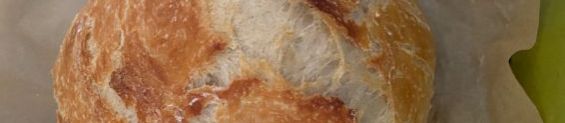
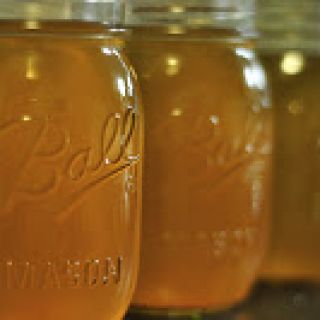
Like many people around the world, I’ve been baking homemade bread during quarantine. Why is this such a “thing” these days? I think there is something calming about baking in the kitchen: the oven is warm, the smells are divine, time is slowed. Baking bread connects us to our ancestors and awakens our lost memories […]

Saturday. Or is it Wednesday? Does it even matter? Who knows?! Now in our umpteenth week of quarantine, the days are blurring together. Weekends don’t really feel special anymore, except for the fact that I don’t have to constantly herd the kids back to the dining table to finish their eLearning. To be honest, I […]
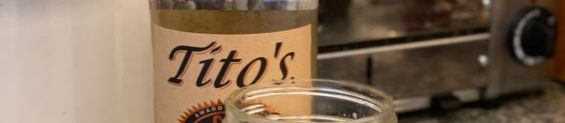
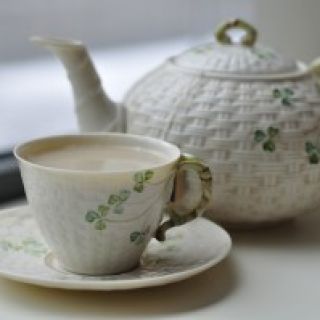
It seems like there are memes galore about parents needing a drink during this shelter-at-home time of life. While I certainly don’t judge a parent needing a break at the end of (yet another) long day, alcohol just isn’t really that important to me. Honestly, the best way for me to unwind is like 45 […]

 Homemade Mothering is a movement that aims to simplify life and foster self-reliance while being kinder to our families and the planet. Its about encouraging people to get back to the basics when it comes to mothering and homekeeping.